October 26, 2010

To Try Tuesday - Bananas Foster Bread Pudding

Once again To Try Tuesday has rolled around somewhat quicker than I thought it would. And once again I seem to have an abundance of bananas. I went searching through my pile of recipes to find something to make that included them. My husband makes the best Bananas Foster so I thought, for something a little different,  I should try my hand at Bananas Foster Bread Pudding. I adapted a recipe that I had saved from the Food Network by Emeril Lagasse.


After going through the recipe I found that I did not have any rum or banana liqueur so I substituted port. I tasted the bananas after cooking them and the port was a great addition to the brown sugar sauce. Actually I think I could have drank the sauce by itself, but you will be pleased to know that I restrained myself. I mistakenly grabbed the wrong size baking dish, so I had to cook it a bit longer than suggested so that the custard was set. Lastly, I did not make the caramel sauce that went with the recipe. We were happy enough just to have it with vanilla ice cream.


Bananas Foster Bread Pudding
(adapted from the Food Network)

Ingredients
  • 9 tablespoons unsalted butter
  • 1 1/2 cups packed light brown sugar, divided
  • 3/4 teaspoon ground cinnamon
  • 6 firm-ripe bananas, peeled and cut crosswise into 3/4-inch thick slices
  • 1/2 cup rum or port
  • 4 large eggs, lightly beaten
  • 3 cups heavy cream
  • 1 cup milk
  • 1 teaspoon pure vanilla extract
  • Pinch salt
  • 6 cups (1/2-inch cubes) day-old French bread


    Preparation
    1. Preheat the oven to 350 degrees F. Butter a 10 x 14-inch baking dish with 1 tablespoon of the butter and set aside.
    2. Melt the remaining 8 tablespoons butter in a large skillet over medium heat. 
    3. Add 1 cup of the brown sugar and the cinnamon and cook, stirring, until the sugar dissolves, about 2 minutes. 
    4. Add the bananas and cook on both sides, turning, until the bananas start to soften and brown, about 3 minutes. 
    5. Add the port (or rum) and gently stir, basting the bananas.  Remove from the heat and let cool.
    6. Whisk together the eggs, remaining 1/2 cup brown sugar, the cream, milk, and vanilla in a large bowl. 
    7. Add the cooled banana mixture and bread and stir to blend thoroughly. 
    8. Pour into the prepared baking dish and bake until firm, 50 minutes to 1 hour. 
    9. Cool on a wire rack for 20 minutes.
    10. To serve, scoop the pudding onto dessert plates. Top each serving with a small scoop of vanilla ice cream, and serve immediately.
    Printer Friendly Recipe


    October 20, 2010

    The Cake Slice October 2010 - Pumpkin Chocolate Chip Pound Cake

    I am so fortunate because I have joined a wonderful group of baker's from The Cake Slice.  We will be baking for the next 12 months from Cake Keeper Cakes by Lauren Chattman.  Our first cake from the book is a Pumpkin Chocolate Chip Pound Cake.


    This cake certainly did not disappoint.  I have made a few different pumpkin cake recipes over the years but this has quickly become my new favorite.  It made the whole house smell wonderful and I couldn't wait to get the cakes out of the oven.  Although the recipe called for a loaf tin I decided to make it in a 12-cup mini bundt tin.  I adjusted the baking time to 20 minutes and I managed to make 18 mini bundts from this recipe.  The only other changes I made was to use pecans rather than walnuts only because I have a Costco-size bag that I've been trying to use up, and I used mini-chocolate chips because I had two bags of them in my freezer.


    One of these little cakes warm from the oven and a cup of my favorite coffee from Coffees of Hawaii (Ka'u of course), and I was in heaven. The crumb from this cake is so incredibly delicate and moist.  The little sprinkle of powdered sugar on top proved to be a good choice, especially when I found out that after a little while it turns orange, which seemed fitting for this cake.


    Click here to check out all of the other Cake Slice Baker's blogs and see their versions of the same cake.


    Pumpkin Chocolate Chip Pound Cake
    (recipe from Cake Keeper Cakes)

    Ingredients
    • 1 3⁄4 cups unbleached all-purpose flour
    • 1 teaspoon baking soda
    • 1 teaspoon baking powder
    • 1 teaspoon ground cinnamon
    • 1⁄2 teaspoon salt
    • 1⁄4 teaspoon ground cloves
    • 1⁄2 cup (1 stick) unsalted butter, softened
    • 1 1⁄4 cups sugar
    • 3 large eggs
    • 1 cup canned pumpkin purée
    • 1 teaspoon pure vanilla extract
    • 1⁄3 cup milk
    • 1 cup miniature semisweet chocolate chips
    • 1 cup chopped walnuts (I used pecans)
    Preparation

    1. Preheat the oven to 350 degrees Fahrenheit. Coat the inside of a 9-inch by 5-inch loaf pan with nonstick cooking spray and dust it with flour.
    2. Combine the flour, baking soda, baking powder, cinnamon, salt, cloves and nutmeg in a medium mixing bowl.
    3. Combine the butter and sugar in a large mixing bowl and cream with an electric mixer on medium-high speed until fluffy, about 3 minutes, scraping down the sides of the bowl once or twice as necessary.
    4. With the mixer on medium-low speed, add the eggs, one at a time, scraping down the sides of the bowl after each addition. Stir in the pumpkin purée and vanilla. Stir in the milk.
    5. Turn the mixer to low speed and add the flour mixture, 1⁄2 cup at a time, scraping down the sides of the bowl after each addition. Stir in the chocolate chips and walnuts.
    6. Scrape the batter into the prepared pan and smooth the top with a rubber spatula. Bake the cake until it is firm to the touch and a toothpick inserted in the center comes out clean, 55 minutes to 1 hour. Let the cake cool in the pan for 5 minutes, invert it onto a wire rack, and then turn it right side up on a rack to cool completely.
      Tip - Store uneaten cake in a cake keeper at room temperature for up to three days or in the refrigerator, wrapped in plastic, for up to one week.


      October 19, 2010

      To Try Tuesday - Gingerbread Biscotti

      OK, so it is To Try Tuesday again.  Why is it that I have hundred's of recipes I want to try but nothing jumps out at me immediately?  I decided on Gingerbread Biscotti because I have not made biscotti in a really long time.  Although it may seem as though it is a little early for this flavor to be making an appearance, I figure that if Macy's, Costco, Sears, etc can all have holiday decorations up in their stores in October, then I can make gingerbread biscotti.

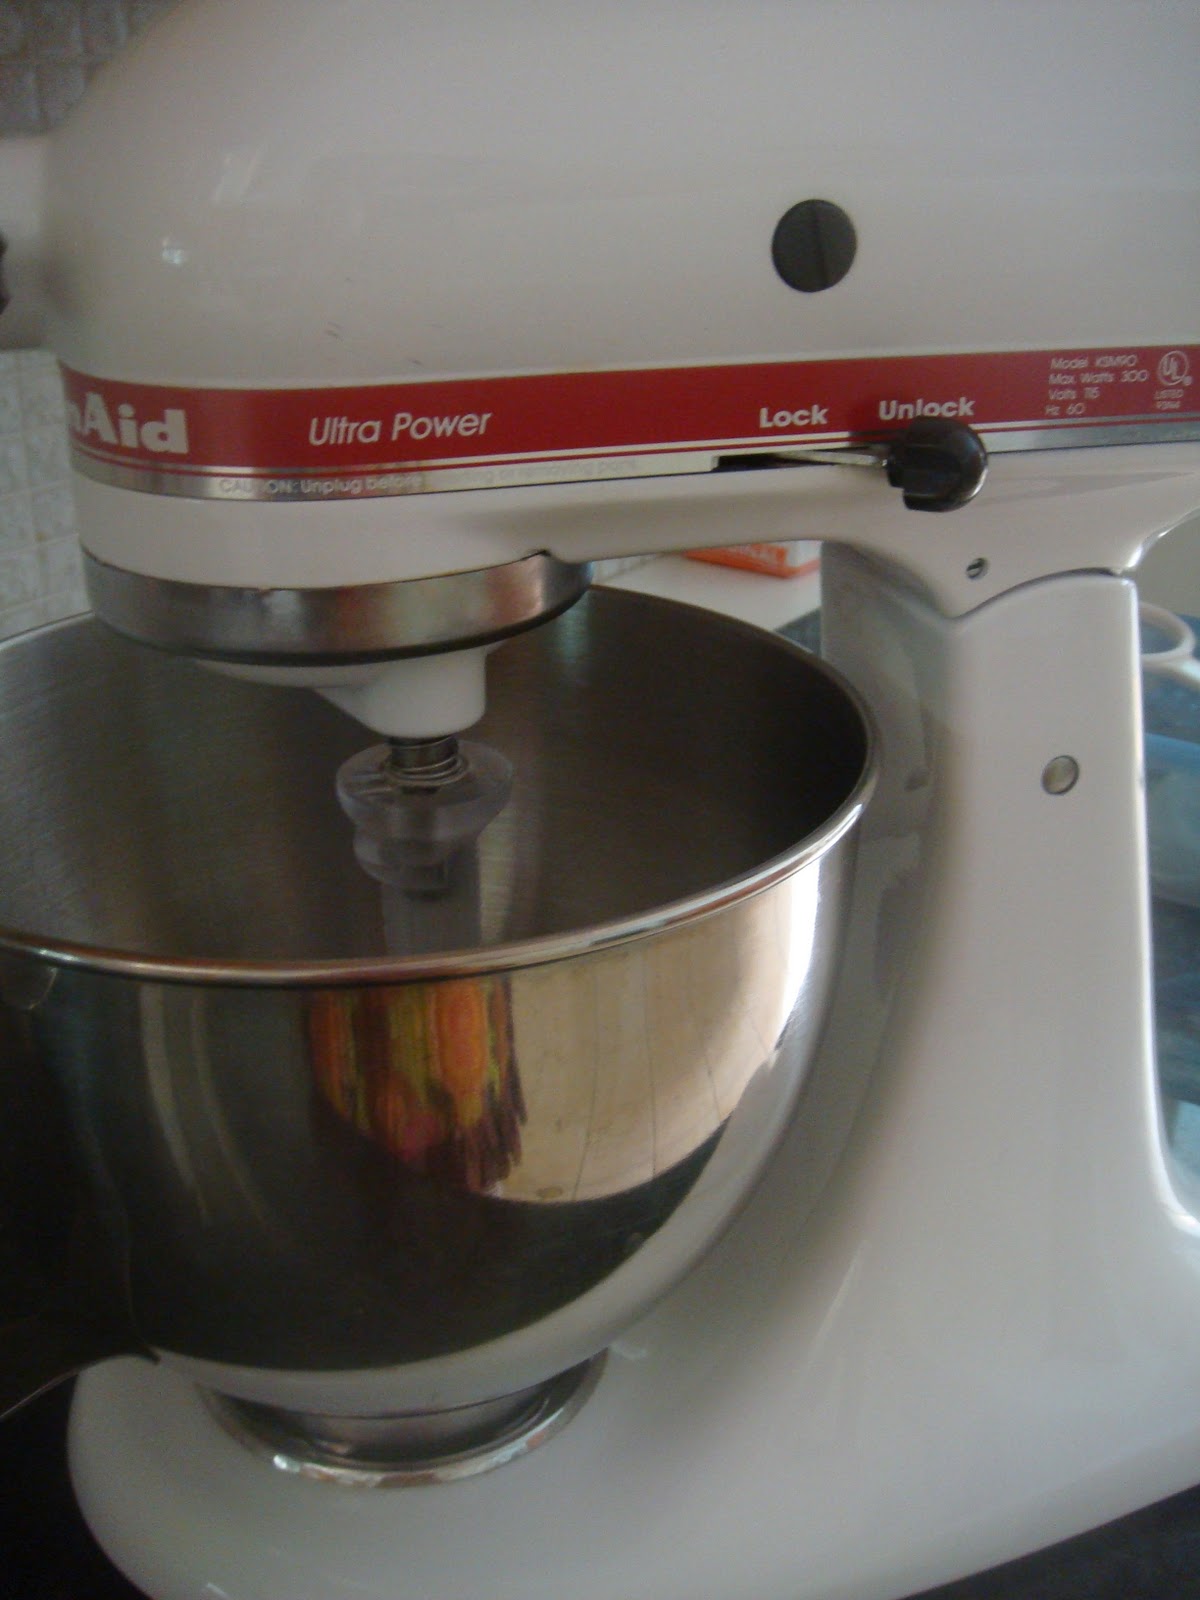
      My KitchenAid aka Snow White

      Did you know that biscotti means twice-baked?  I first saw this recipe on Recipe Goldmine and thought it sounded really good.  I really like something sweet with my coffee at night and biscotti has just the right mixture of sweet and crunch.  And you can dunk it too!  Although the original recipes calls for some semisweet chocolate chips it really wasn't the flavor I was going for so I decided to omit them.  I had some crystallized ginger and some ginger from Buderim, Australia - which is known for producing the "World's Finest Ginger" - called Naked Ginger so I decided to chop some finely and add that to the biscotti for some extra zing.

      A very sticky dough

      Another thing I changed about the recipe was part of the preparation.  The original recipe called for adding the butter, sugars, and spices and mixing well.  For me it made more sense to measure out the flour, baking powder, and spices and then add them after adding the eggs to the creamed butter/sugar mixture.  I don't know if it made a difference but it worked for me.

      Cut each log on the diagonal


      As I said it has been a long time since I last made biscotti, and I don't remember it being quite as sticky as my dough was.  It was so sticky that I ended up adding another 1/2 cup of flour to the mixture.  I used a spatula to get most of the mixture out of the bowl but it was hard work.  I think it would have been easier to use a dough scraper but, of course, I couldn't find mine at the time.  Once I had them shaped into logs and on the Silpat everything else went very smoothly.  I guess I made my logs a little bigger because I only got 24 biscotti.


      You can see the pieces of ginger in the biscotti

      Once they were fully cooled I placed the white chocolate in the microwave to melt.  If yours decoded to seize like mine did do not panic as all is not lost.  Put your kettle on to boil so you have really hot water and add a little at a time until the mixture comes back together.  The hot water also helps to thin out the chocolate mixture and makes it easier to drizzle over the biscotti.


      White Chocolate-Cinnamon Drizzle

      Gingerbread Biscotti

       Ingredients

      • 1/2 cup butter
      • 1/2 cup sugar
      • 1/2 cup brown sugar
      • 1 tablespoon ground ginger
      • 3/4 teaspoon ground cinnamon
      • 1/2 teaspoon ground nutmeg
      • 1/4 teaspoon ground cloves
      • 2 eggs
      • 3 tablespoons molasses
      • 3 cups all-purpose flour
      • 2 teaspoons baking powder
      • 1/2 cup crystallized ginger, finely chopped

      Drizzle


      • 6 ounces white baking chips
      • 1/2 teaspoon ground cinnamon

      Preparation
      1. Heat oven to 350 degrees F.
      2. Cream butter and sugars in a bowl. Add eggs and molasses; mix well. 
      3. Add flour, baking powder, ginger, cinnamon, nutmeg, and cloves; mix well.
      4. Stir in chopped ginger.
      5. Divide dough in half. Shape each half into 12" logs. Place logs onto a lightly greased cookie sheet; flatten logs slightly. 
      6. Bake for 22-25 minutes or until tops are cracked and logs are golden brown. Remove from oven; cool 15 minutes on cookie sheet.
      7. Reduce oven temperature to 325 degrees F. Place logs on a cutting surface; cut into 1/2-inch thick diagonal slices with a serrated knife. Place cut side down onto ungreased cookie sheets.
      8. Return to oven; bake at 325 degrees F for 9 minutes. Turn slices over and bake 7 minutes more. Cool completely.
      9. Drizzle: Microwave white baking chips until melted and smooth; stir in cinnamon. Drizzle over cookies; let set at room temperature until drizzle is firm.

      Makes 24 biscotti.


      Printer Friendly Version


      October 17, 2010

      Rice Custard

      Are you like me and always seem to make a little too much rice?  I hate to throw food away so I usually transfer it to a bowl and put it in the fridge for later use.  I hate to admit that I am not always successful in using it up before it has to go in the trash, but I do try.  One of my favorite ways of using it up is to make a Rice Custard.

      Growing up I remember my grandmother making this quite often.  I suspect that she may have had trouble judging the amount of rice to make too.  It didn't matter how often she made it because it was always a favorite with me.  There is something comforting about a creamy custard that has rice and raisins in it, with a touch of nutmeg and cinnamon.


      This custard can be put together and ready to go in the oven in less than 10 minutes. The original recipe only added 1/2 a cup of rice but I tend to add about a cup of rice and also add some nutmeg and cinnamon to the custard, as well as on top.  The recipe calls for making it in individual dishes and a water bath, but to make it easy I just pour the mixture into a 4-cup capacity ovenproof dish, and I don't worry about a water bath.  This method has always worked for me.


      Rice Custard

      Ingredients
      • 1 cup cooked rice
      • 3 eggs
      • 75g (1/3 cup) sugar
      • 1 teaspoon vanilla
      • 625ml (2½ cups) milk
      • ¼ cup raisins
      • ground cinnamon and nutmeg
      Preparation
      1. Preheat oven to 350F.
      2. Whisk eggs, sugar, vanilla, and milk together in a medium bowl.
      3. Sir in rice and raisins.
      4. Pour into a 4-cup capacity ovenproof dish.
      5. Bake for 35 minutes. 
      6. Sprinkle custard lightly with nutmeg or cinnamon, bake a further 15 minutes or until set.
      7. Serve warm or cold.


      October 12, 2010

      To Try Tuesday - Sour Cream Coffee Cake with Maple Glaze

      Well, it is To Try Tuesday and I have to say I am exhausted.  Not because of making a cake, but because I have just I have just returned from the Ironman World Championships in Kailua-Kona, Hawaii.  No, I did not do the race, but my husband did.  This is a race that takes extreme mental and physical stamina, and I am so very proud of him.  Not only did he complete the race in 9:43:15, but also achieved a Personal Record.  I am just exhausted as a spectator.  It is a long day and I was determined that I would get some good shot of him during the race.

      Mark running along Kuakini in Kona

      OK, now back to your regularly scheduled post.  I have had this printed out and ready to try since I first saw it posted and it received rave reviews. This recipe, Sour Cream Coffee Cake with Maple Glaze, originally came from The Tasty Kitchen, and was posted by Leonard on the Cooking Light Forum. I had all the ingredients on hand which was an added bonus.

      Since it had excellent reviews I didn't really change very much at all.  I thought the cake batter looked a little dry so I added another 1/4 cup of sour cream, and in addition to the cinnamon, I added 1/2 teaspoon of Penzeys Baking Spice to both the crumb mixture and the batter for a little bit of a spice kick.  I also only made three layers rather than the four mentioned in the recipe. 

      The Maple Glaze was just the right consistency, although a little sweet for me.  I guess I like more of a crumb topping on my coffee cakes, but that didn't stop the rest of the family from devouring it.  I thought the cake portion of the cake was the perfect texture.


      Sour Cream Coffee Cake with Maple Glaze

      Ingredients
      • ¾ cups granulated sugar 
      • 6 tablespoons butter, softened 
      • 1 egg 
      • ¾ teaspoons vanilla extract 
      • 1-½ cup flour 
      • ¾ teaspoons baking powder
      • ¾ teaspoons baking soda 
      • ¼ teaspoons kosher salt
      • 1 teaspoon baking spice, separated
      • 1-¼ cups sour cream 
      • ⅓ cup brown sugar 
      • 1 teaspoon cinnamon
      Glaze
      • ⅓ cups Pure Maple Syrup 
      • 1 cup Powdered Sugar

      Preparation
      1. Preheat the oven to 350 degrees and grease a 9×5″ loaf pan. 
      2. Cream the sugar and butter together in a medium bowl, and then beat in the egg and vanilla.
        Whisk together the flour, baking powder, baking soda, 1/2 teaspoon baking spice, and salt. 
      3. Beat into the butter mixture alternately with the sour cream just until combined.
      4. Whisk together the brown sugar, 1/2 teaspoon baking spice, and cinnamon in a small bowl. 
      5. Spread a third of the batter into the loaf pan and sprinkle with 1/4 of the cinnamon-sugar mixture. Repeat the layers 2 more times. 
      6. Bake 45-50 minutes or until a toothpick inserted into the center comes out clean. 
      While the cake is cooling in the pan, make the glaze. 
      1. Stir the maple syrup into the powdered sugar gradually until the glaze is thick and smooth. (You can add additional maple syrup if the glaze is too thick, or some maple extract if you want more of a maple flavor.)
      2. Remove the cake from the pan and let cool on a rack. 
      3. Drizzle with the glaze while still warm, and then again once cooled completely.
      Printer Friendly Version