
One of the cookbooks I received for Christmas was Flour by Joanne Chang. Unfortunately I have never been to her bakery in Boston but I do know that she is one smart cookie! Not only does Ms. Chang have a degree in applied mathematics and economics from Harvard University, but she also took down Bobby Flay in a Throwdown with her recipe for Flour's Famous Sticky Buns.
 I have heard great things about this book so I was excited to be trying my first recipe from it. I was really in the mood for Oatmeal Raisin Cookies, but wanted to make them a little bit different by adding some dried blueberries. I love dried blueberries and use them not only in baking, but also as a topping on my oatmeal.
This recipe does call for the cookie dough to be chilled for at least 3 hours so plan accordingly. I would suggest that you follow this recommendation because even after 3 hours in the refrigerator my dough was still very pliable. I imagine that if you did not cool the dough they could spread a lot during baking. Although mine did hold their shape quite well, next time I will make the dough in the afternoon and chill it overnight. Cookies for breakfast sounds good to me ;)
I thought that the cookies were delicious and I can't wait to try more recipes from this book. Next on my list are the Lemon Lust Bars. If you like to see measurements in metric you will love this book - ingredients are listed in both imperial and metric. Another fun thing is the book is the "same recipe, different flavors" note at the bottom of some of the recipes because of all of the additional options it gives you.
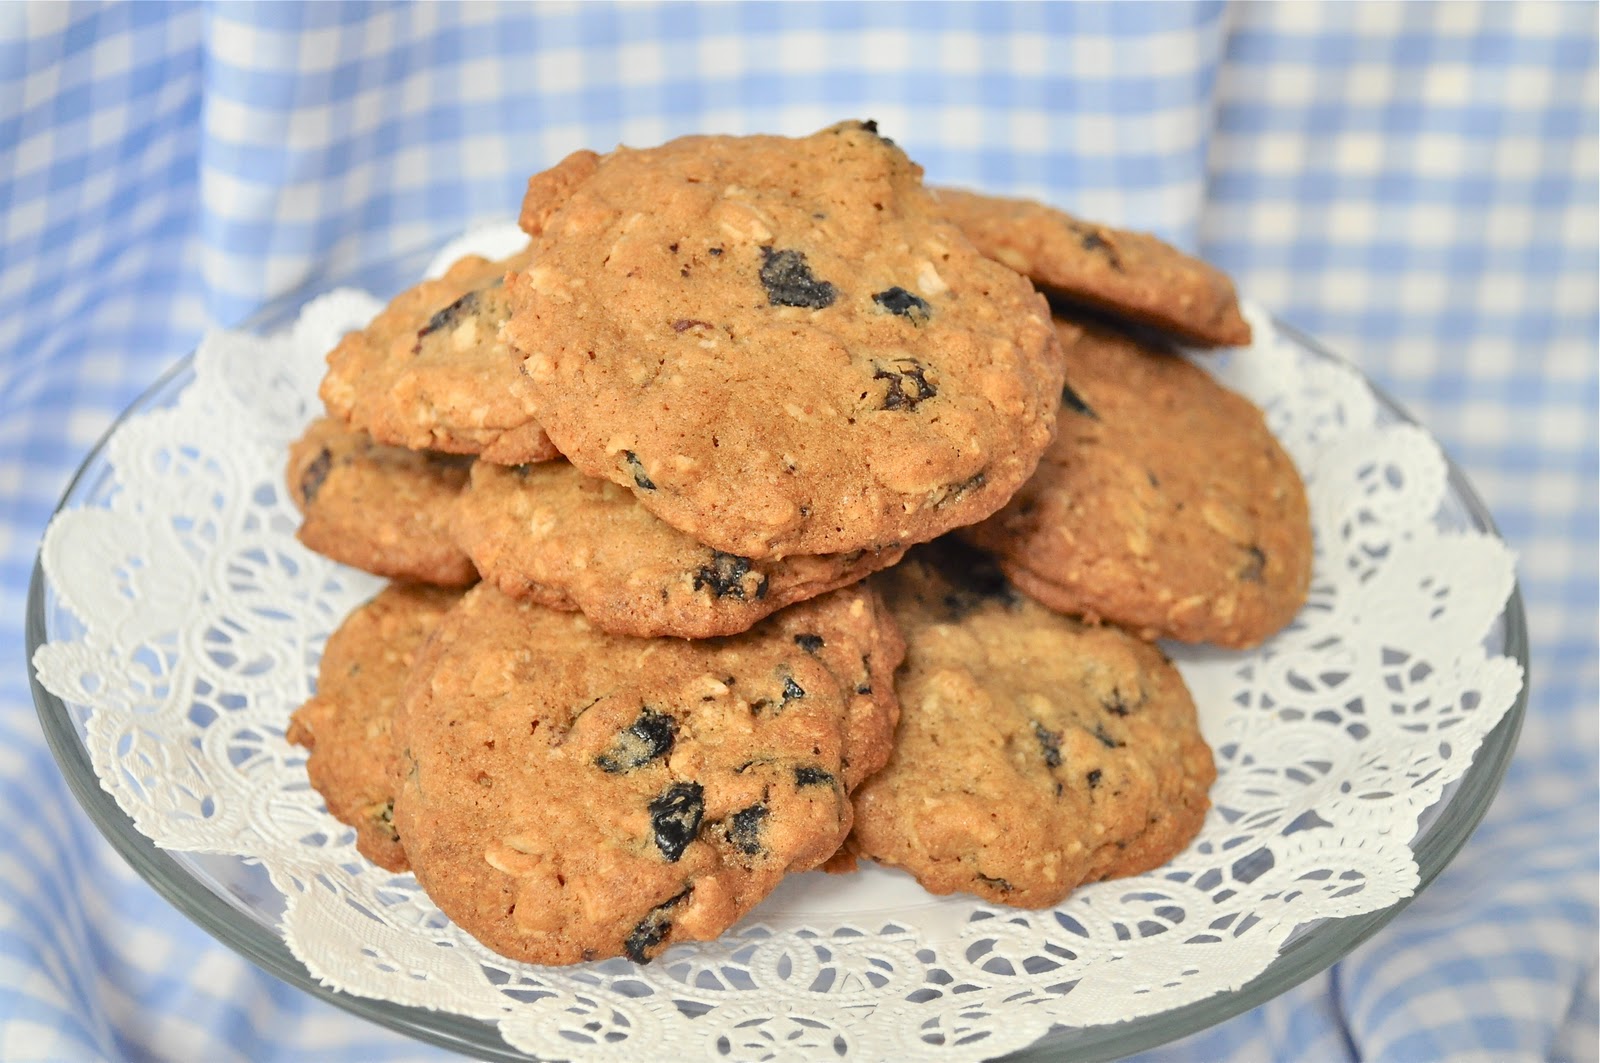
Oatmeal Blueberry Raisin Cookies
(Printer Friendly Recipe)
Ingredients
- 1 cup (2 sticks) unsalted butter, at room temperature
- 3/4 cup granulated sugar
- 1 cup packed light brown sugar
- 2 large eggs, at room temperature
- 1 3/4 cup all-purpose flour
- 1 3/4 cup old-fashioned rolled oats (not instant or quick-cooking)
- 1 teaspoon baking soda
- 1 teaspoon salt
- 1 teaspoon Penzeys Baking Spice (or 1/2 teaspoon nutmeg & 1/2 teaspoon cinnamon)
- 1 cup dried blueberries
- 1/2 cup raisins
Preparation
- In the bowl of a stand mixer, beat the butter and sugars until very light and fluffy, about 5 minutes.
- Meanwhile in a separate bowl, whisk together the flour, baking soda, salt, nutmeg, and cinnamon, making sure there are no lumps of baking soda. Stir in the oats, blueberries, and raisins.
- Add the eggs, one at a time, and beat until thoroughly combined. On low speed, or by hand, gradually add the flour and oat mixture to the creamed butter, mixing until completely incorporated.
- Chill the batter a few hours or overnight, covered. (This step is optional, although recommended by the author, and I second it.)
- To bake the cookies, preheat the oven to 350ºF. Line a baking sheet with parchment paper or a silicone baking mat.
- Drop the dough in 1/4 cup balls evenly spaced on the baking sheet and flatten the tops slightly with your hand.
- Bake the cookies for 20 to 22 minutes, until they just start to turn brown across the top, but do not overbake.
- Remove from oven and cool completely.
- Once cool, the cookies can be stored in an airtight container for up to three days. The dough can be stored in the refrigerator for up to one week, or frozen for up to two months.
I also wanted to say a big thank you to Wendy at The Weekend Gourmet and Tungsten Toffee. As the winner of Wendy's giveaway I was able to select one of the Tungsten toffees to try. I decided upon the Espresso Dark Chocolate Toffee. It was oh-so-good. If you are looking for something delicious for yourself as a treat, or maybe something special for a friend, I would definitely recommend this toffee.


