December 20, 2010

The Cake Slice December 2010 - Cranberry Cake

The votes are in for December and the cake we would be baking from Cake Keeper Cakes by Lauren Chattman would be a Cranberry Cake.  I did a little happy dance because I love cranberries.  You don't have to twist my arm to use them in both sweet and savory dishes. I tend to over-buy during the season and therefore have bags and bags of them in my freezer.  This isn't necessarily a bad thing because it results in me having cranberries to use throughout the year.

Before starting a recipe I like to read through it to make sure that I have all the necessary ingredients available and ready to use.  There is nothing worse than getting half way through something special and finding that you don't have what you need to finish.  I have to admit that it has taken me a while to learn this lesson, but now that I have, I have found it invaluable.  For this recipe I discovered that I had whole almonds rather than sliced.  A quick whirl in the food processor solved this problem, and although it would mean the top wouldn't be quite a decorative, it still worked.


For the first part of mixing the cake batter I used Snow White, my trusty KitchenAid mixer.  When it came time to adding the flour and cranberries I changed to hand-mixing with a spoonula.  Be warned that this cake batter is quite thick and chunky and you won't be pouring it into the prepared pan so much as spooning it in.  Don't worry as this is completely normal for this cake and this is why the spoonula worked so well.  Once the batter is in the pan just use the back of the spoon to smooth the top, and then sprinkle the streusel on top and press lightly.  Although I did not have any problems with the batter leaking, it is a good idea to place the springform pan on a cookie sheet just in case.  I'd much rather clean a cookie sheet rather than the oven.


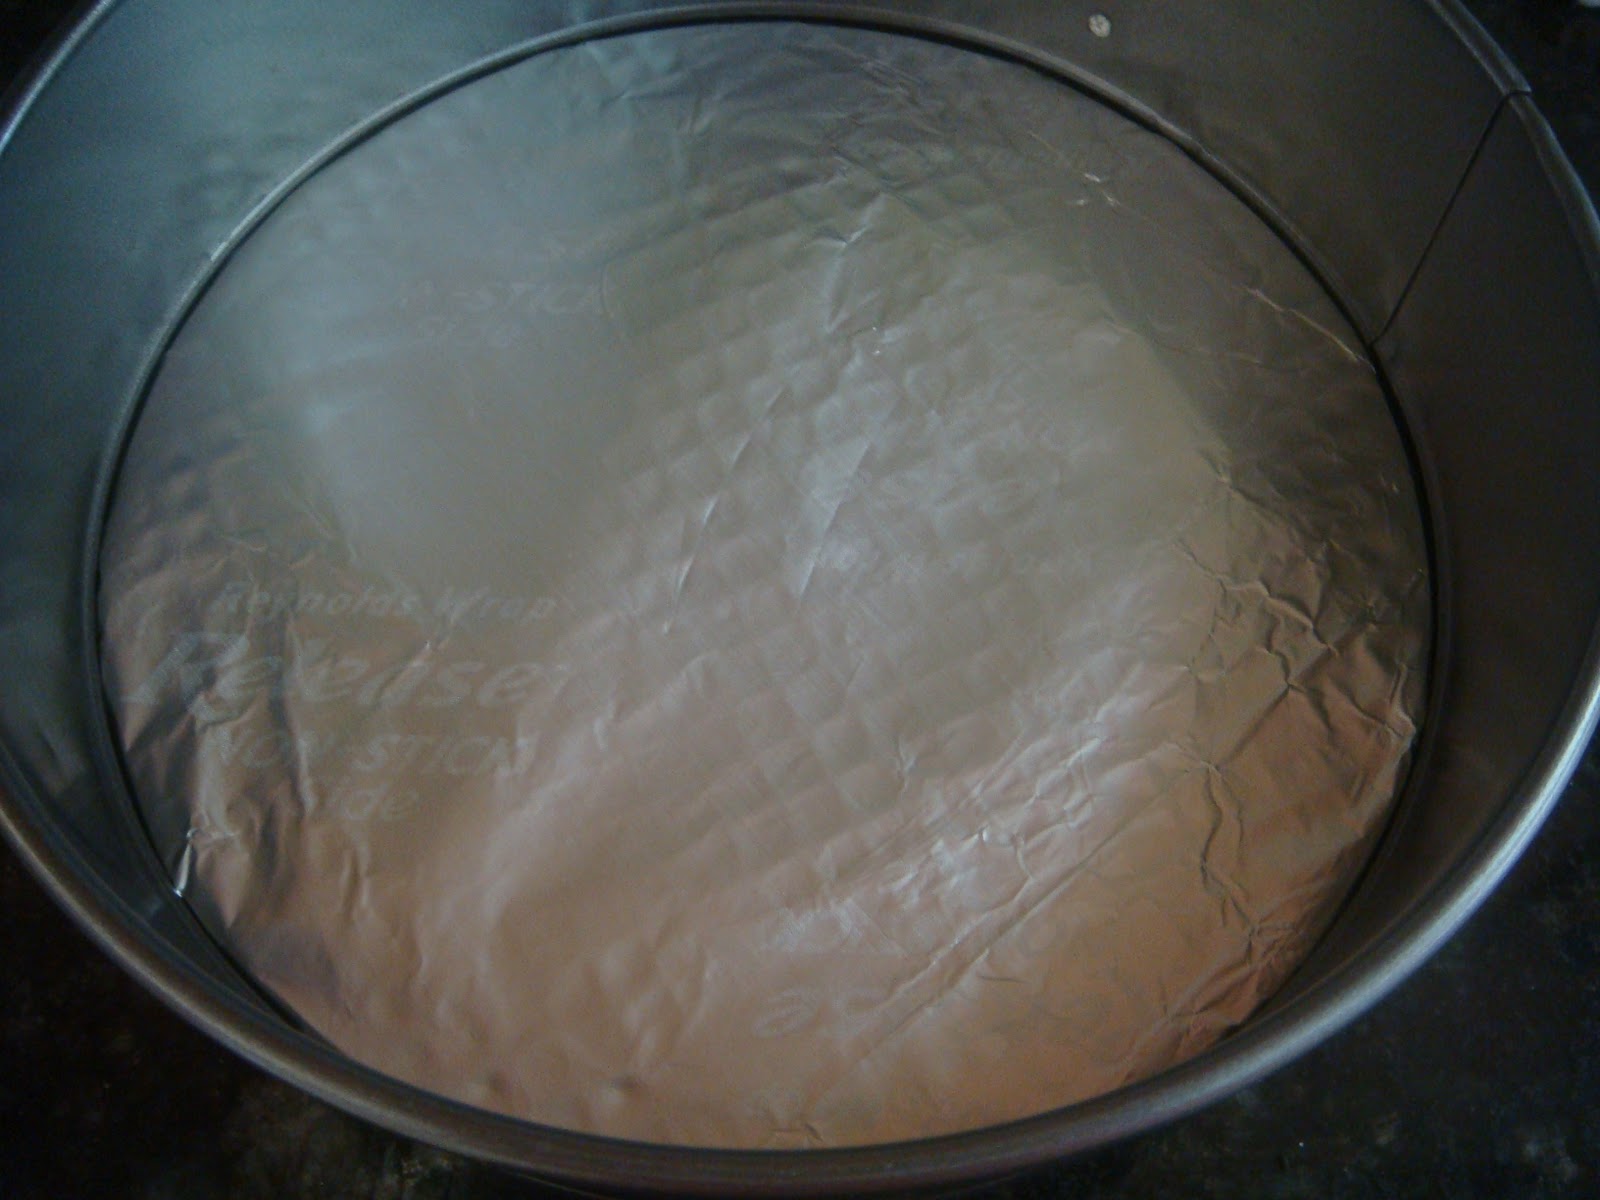
My cake was baked in an oven set at 325°F for 1 hour 15 minutes.  I then left it to cool for at least 20 minutes on a wire rack.  I had wrapped the bottom of my springform pan in non-stick foil so that I would have an easy release.  To release the cake I unlocked the side of the springform and removed it.  I then placed a plate on the top and flipped it over. 


I then gently removed the springform base from the cake and placed my serving platter on the cake.  A simple flip back over again and my cake was almost ready to serve.


Although it was not called for in the recipe I decided to sift a little powdered sugar over the top for a festive look to this cake.  Just make sure that you wait for the cake to be fully cooled before doing this step or your sugar will melt into the cake.  This cake definitely delivers on both taste and texture, and it is one that I am sure I will be making again and again.  I may even try a little almond essence in the next one I make.

Click here to check out all of the other Cake Slice Bakers blogs and see their version of this cake.


Cranberry Cake
(Printer Friendly Version)
 
Ingredients - For the Streusel
  • 1 cup sliced almonds
  • 2 tbsp unsalted butter, melted
  • 2 tbsp light brown sugar

Ingredients – For the Cake
  • 2 cups all-purpose flour
  • 1 tsp baking powder
  • ¼ tsp salt
  • 3 eggs
  • 2 cups granulated sugar
  • ¾ cup (1½ sticks) butter, melted and cooled
  • 1 tsp vanilla extract
  • 1 bag (12 ounces) fresh cranberries

Preparation - Streusel
  1. Heat the oven to 325°F. 
  2. Grease a 10-inch round springform pan. 
  3. Combine the butter, almonds and brown sugar in a medium bowl. Work the mixture between your fingers to form large crumbs. 
  4. Refrigerate until ready to use.

Preparation – Cake
  1. Whisk together the flour, baking powder and salt in a medium bowl. 
  2. Combine the eggs and granulated sugar in a large mixing bowl and beat with an electric mixer on medium high speed until the mixture is lightened and increased in volume, about 5 minutes. 
  3. With the mixer on low speed, add the butter in a slow stream. Turn the mixer to medium speed and beat for another 2 minutes.
  4. Stir in the vanilla.   
  5. Gently but thoroughly fold in the flour mixture, half a cup at a time. 
  6. Then stir in the cranberries. 
  7. Scrape the butter into the prepared pan, smoothing the top with a spatula. 
  8. Sprinkle the streusel over the batter. Bake the cake until it is golden and a toothpick inserted in the center comes out clean, about 1 hour to 1 hour 15 minutes. 
  9. Let the cake cool in the pan on a wire rack for 20 minutes. 
  10. Release the sides of the pan and use a large spatula to slide the cake from the pan bottom onto the wire rack.
  11. Cool completely.  Sprinkle with powdered sugar, if desired.
  12. Store uneaten cake in a cake keeper or wrap in plastic and store at room temperature for up to 5 days.
Makes one 10 inch round cake


December 14, 2010

To Try Tuesday - Roasted Garlic Bean Dip

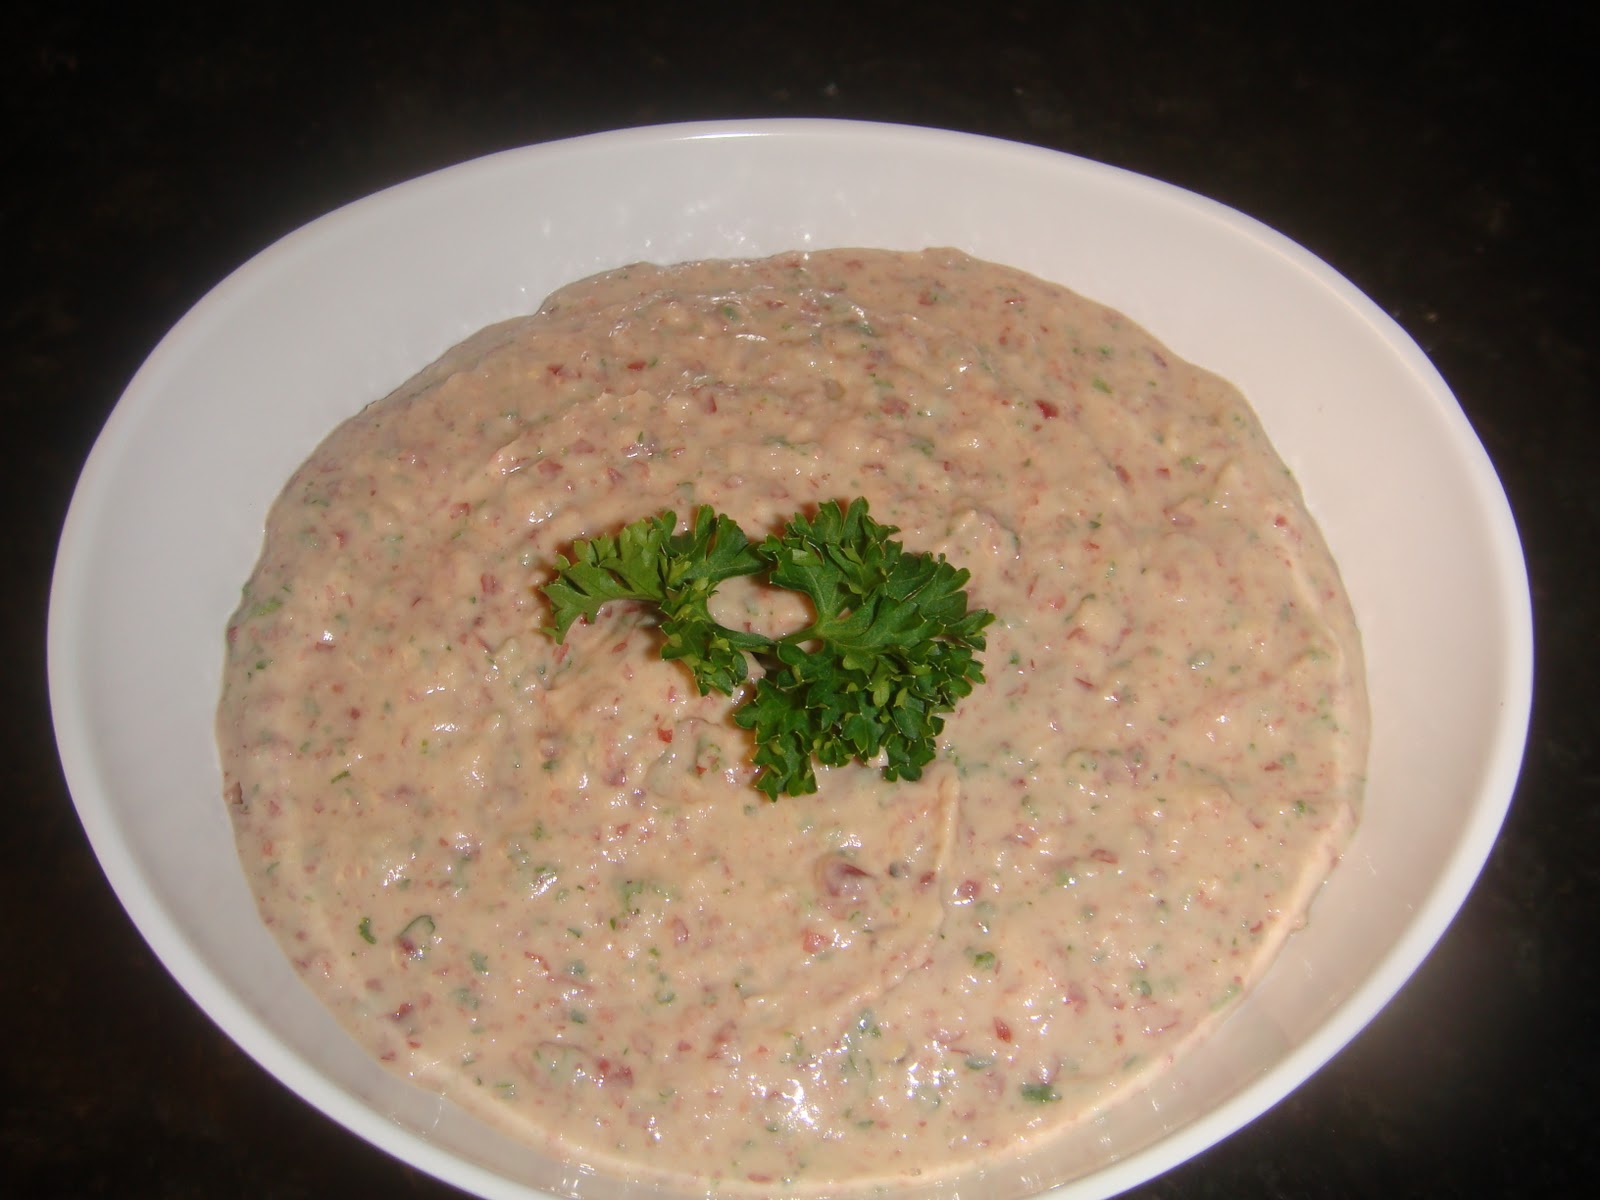
Tuesday has rolled around again so quickly and it is officially To Try Tuesday.  Lucky for me I just discovered a new blog ¡Comida es mi vida y mi vida es comida! by Hester.  Her blog is filled with all sort of goodies but the one that immediately caught my eye was the Garlic Bean Dip.  Who wouldn't love a recipe that can be easily made and is good for you too?  It immediately went to the top of my To Try list.

Lucky for me I had most of the ingredients already in my cupboard and fridge.  I only had to pick up some fresh parsley this morning and I was ready to go.  This is the kind of dip that you could whip up at a moments notice and be eating in a few hours.


I decided that I wanted to roast the garlic before adding it to the other ingredients.  I love how roasting brings out the sweetness of the garlic and it is so easy to do.  All you have to do is take off some of the outer skin and cut a small portion off the top to expose the cloves.  Put the head of garlic in a small oven-proof container and pour a little olive oil over the top.  Place the container in an oven preheated to 400F and bake for 30-40 minutes, or until it is golden and soft.  Wait for it to be cool enough to handle and then just squeeze the cloves out as needed.


Roasted Garlic Bean Dip
(adapted from a recipe by Hester Chang)

Ingredients 
  • 1 (15-ounce) can of cannellini beans/white kidney beans, drained and rinsed
  • 1 (20-ounce) can of red kidney beans, drained and rinsed
  • 4 tablespoons of plain Greek yogurt
  • juice of one lemon
  • zest from half a lemon
  • 5 to 6 garlic roasted garlic cloves
  • 1/4 cup extra virgin olive oil
  • 1 large handful of parsley
  • 1 1/2 teaspoons salt
  • 1 teaspoon freshly ground pepper

Preparation
  1. Place all the ingredients into a blender or a food processor and whirl them all together until a smooth consistency is achieved.
  2. Taste the dip and if need be, add some more salt/pepper/lemon juice/yogurt.  Blend it again.
  3. Put it in a bowl, cover with plastic wrap, and refrigerate for a good two hours to let the flavors meld. 
  4. Serve with your favorite ingredients used for dipping such as crackers, pretzels, pita chips, carrots, celery, etc.
Printer Friendly Recipe 


December 11, 2010

Cranberry-Raspberry Swirl Cheesecake

Once I saw the cover of the December Cooking Light magazine I knew I had to make this cheesecake.  The swirls of cranberry on top just looked so enticing and festive.  I love cheesecake and I love cranberries, so this was a match made in heaven.


I was waiting for just the right time and it presented itself when a good friend of mine asked me to make a few desserts for various parties she had coming up.  Luckily for me she didn't have any preference for exactly what type of dessert she wanted so I told her I knew just the thing to make.


Since the dessert was for someone else I decided to go with a tried and true New York Cheesecake for the actual cheesecake.  It is from one of my very first cookbooks, Borden's Quick and Easy Desserts, that I purchased when I was living in Toronto, Canada.  The cranberry topping for the Cooking Light recipe listed Chambord (raspberry liqueur) as an ingredient but I really didn't want to go to the expense of buying a bottle.  So instead I decided to add some raspberries and a little port to the cranberries as they simmered.  I really liked this combination of flavors.  The cranberries and the raspberries played really well off of one another, sort of like a sweet-tart flavor.


When preparing this cheesecake I made the cranberry-raspberry topping first so that it has time to cool. By the time I made the base and filling the topping was ready to be pureed and then dolloped and swirled on the top of the cheesecake.  This is one pretty cheesecake.


Cranberry-Raspberry Swirl Cheesecake
(adapted from Cooking Light and Borden's Quick and Easy Desserts)

Ingredients 
  • 1 1/2  cups  fresh cranberries
  • 1/2  cup  sugar
  • 1 cup raspberries
  • 1/4 cup port
  • 3  tablespoons  water
  • 30 Nilla Wafers
  • 3 tablespoons butter, melted
  • 4  (8-ounce) packages cream cheese, softened
  • 4 eggs
  • 1 (14 oz) can condensed milk
  • 2  teaspoons  vanilla extract
  • 1/3 cup all-purpose flour
Preparation
  1. Preheat oven to 325°.   
  2. Place cranberries, sugar, raspberries, port, and water in a saucepan; boil. Cook 8 minutes or until cranberries pop and mixture is syrupy. Cool 20 minutes. Place mixture in a food processor; process 1 minute or until smooth.   
  3. Wrap the removable bottom of a 9-inch springform pan with a layer non-stick foil.
  4. Place crackers in a food processor; process until finely ground. Drizzle with melted butter; pulse until combined. 
  5. Press mixture into bottom prepared pan. 
  6. Beat cream cheese until fluffy in large bowl. 
  7. Gradually beat in sweetened condensed milk until smooth. 
  8. Add eggs, flour, and vanilla; mix well. 
  9. Pour into prepared pan. 
  10. Spoon small circles of cranberry-raspberry mixture over filling; swirl together using the tip of a knife. 
  11. Bake at 325° for 50 minutes or until center of cheesecake barely moves when pan is touched. 
  12. Remove cheesecake from oven and run a knife around outside edge to reduce cracking. 
  13. Cool on a wire rack. 
  14. Cover and chill 8 hours.
Printer Friendly Recipe


December 07, 2010

To Try Tuesday - Ka'u Coffee Gelato

If you read my post from yesterday you know that I am a big fan of the coffee produced by Coffees of Hawaii.  I have been on a quest to try out their products in my desserts.  Although it is To Try Tuesday this recipe was actually made on Saturday because we were having friends over.  However it is a new recipe that I have not made before so I am deeming it eligible for today's post.


Yesterday was my husbands birthday and he got a Breville Burr Conical Coffee Grinder so that he can grind the Coffees of Hawaii beans just right.  Burr grinders are recommended because they give a more consistent grind by crushing the beans between a fixed surface and a grinding wheel.  Conical burr grinders usually spin slowly and therefore minimize the heat generated via friction, and this keeps the coffee aroma intact.  All of this adds to to even more delicious coffee.


Along with the Coffees of Hawaii Cheesecake I also decided to make Coffee Gelato.  I had come across a recipe for gelato on the Epicurious website.  I did a little internet research and found out that there is a difference between gelato and ice cream.  Gelato is lower in fat because it is usually made with milk rather than cream.  It also tends to be more dense because it is churned at a slower speed so it does not get as much air in it.


I ended up making two batches - one gelato and one ice cream - based on the same recipe.  This is such an easy recipe to pull together.  The custard base does need to chill before you put it in your ice cream maker so plan ahead for this.  Also, in hind sight, I would say to make the ice cream as close as you can to serving it because the consistency when it comes out of the machine is almost perfect.  It really only needs to firm up a little in the freezer.  Mine went in for way too long and it was as hard as a rock, even though I took it out prior serving it.  The flavor was still this wonderfully intense coffee flavor.  It was good on its own but I think it would be great in an ice cream sandwich.  I have some cocoa nibs I want to try so I am thinking that I might try making some cookies with them and using the left over ice cream as the filling.  This recipe by Food Gal looks like it would fit the bill perfectly.


Ka'u Coffee Gelato

Ingredients 
  • 5 large egg yolks 
  • 1/2 cup sugar  
  • 1 1/2 cups whole milk (or 3/4 milk and 3/4 cream for ice cream)
  • 1/2 cup strongly-brewed Coffees of Hawaii Ka'u coffee (or 1 tablespoon instant espresso powder dissolved in 1/2 cup hot water)
  • 1 teaspoon vanilla

Preparation  
  1. Whisk yolks and sugar in large bowl to blend.
  2. Bring milk to boil in heavy medium saucepan.
  3. Gradually whisk hot milk into egg mixture; then whisk in espresso mixture and vanilla. 
  4. Return mixture to saucepan and stir over medium heat until custard thickens and leaves path on back of spoon when finger is drawn across, about 8 minutes (do not boil).
  5. Refrigerate until cold, about 3 hours.
  6. Process custard in ice cream maker according to manufacturer's instructions. 
  7. Freeze in covered container.  Recipe can be prepared 3 days ahead. Keep frozen. 
  8. Serves 6.


December 06, 2010

Coffees of Hawaii Coffee Cheesecake

It is no secret to those who know me well that I am a big fan of the coffee produced by Coffees of Hawaii.  I first learned of this coffee when they became a sponsor of the triathlon/cycling team that my husband belongs to, Pacific Velo.  We ordered some of their coffee to try and we have never looked back.  It is definitely my preferred coffee and the one that we brew morning, noon, and night.  It was a little bit of a shock to look back and see how much we had ordered (and consumed) in one year.  However, it was worth every penny for this liquid gold.


Not only do I love their coffee, but the company's philosophy is admirable too.  They are committed not only to offering the finest coffee, but they donate 1% of their revenues to support both culture and ecology in the Hawaiian islands.  "Malama Hawai‘i. There is nothing like it anywhere else on planet Earth".  Their website also offers a history of coffee in Hawaii and some wonderful Hawaiian proverbs.


We had some of the team members over for burgers this weekend and I thought it would be fun to make desserts that featured Coffees of Hawaii coffee in them.  My absolute favorite is the Ka'u coffee. We brewed up some extra strong coffee and finely ground some beans so that we could make sure they flavor shone through in the desserts.


I knew exactly which dessert I wanted to make first.  Recently the blog Liv Life featured a Cappuccino Fudge Cheesecake that I thought would be perfect to try.  I made a few adjustments to the recipe and the Coffees of Hawaii Coffee Cheesecake was born.  The main changes I made were to feature the coffee flavor a little more, and to re-arrange the layers.  I added ground Ka'u coffee to the base and topping, and added brewed Ka'u coffee to the filling and ganache - I wasn't joking when I said I wanted the coffee flavor to shine through.  Although there are a few steps to putting this cheesecake together, they are very easy steps, and it is well worth the effort.  Contrary to popular belief, cheesecakes are not hard to make.


One of the tricks I use when making a cheesecake is to line the removable base of my pan with non-stick aluminum foil.  This makes life so much easier when it comes to moving the cheesecake on to a serving platter.  Of course you could also use a springform pan with a glass bottom that also acts a a serving dish but where is the excitement in that?  Just kidding, they are a godsend sometimes, but I don't have one so I have to work with what I've got.  Another is not to over-mix the cheesecake filling as you do not want bubbles in your cheesecake - remember, bubbles in champagne = good, bubbles in cheesecake = not so good. 


Lastly do not make the mistake of waiting until the filling is set when baking the cheesecake.  It should still be a little "jiggly" in the middle when you remove it from the oven as it will continue to cook more as it gradually cools.  I'll show you an example below of what happens when you leave it in too long.  I'll also show you that this can easily be fixed, so don't worry if you too end up with a crack in your cheesecake the size of the Grand Canyon.


Just think of the cracks as flavor opportunities.  There are many ways to cover this up such as a sour cream or whipped cream topping, fresh fruit, or do a I did and fill it with chocolate ganache. Chocolate makes everything better.  I filled the cracks first and then poured a topping of ganache over the whole cheesecake.  I let it firm up a bit and then pressed ground Oreos and coffee on top.  Problem solved.


Coffees of Hawaii Coffee Cheesecake

Ingredients
Crust 
  • 20 Oreo cookies 
  • 1/4 cup (packed) dark brown sugar 
  • 1/4 cup finely ground Coffees of Hawaii Ka'u coffee beans 
  • 5 Tbs melted unsalted butter
Ganache 
  • 1 1/4 cups whipping cream
  • 16 ounces bittersweet (not unsweetened) or semisweet chocolate, chopped
  • 1/4 cup strongly-brewed Coffees of Hawaii Ka'u coffee
Filling 
  • 4 8-ounce packages cream cheese, room temperature
  • 1 cup sugar
  • 2 Tbs all purpose flour
  • 1 shot of strongly-brewed Coffees of Hawaii Ka'u coffee
  • 2 tablespoons ground whole Coffees of Hawaii Ka'u coffee beans (medium grind)
  • 1 tablespoon vanilla extract
  • 3 large eggs 
Crumb Topping
  • 5 Oreo cookies
  • 1/4 cup finely ground Coffees of Hawaii Ka'u coffee

Preparation
For Crust

  1. Finely chop cookies in a food processor.
  2. Add butter and brown sugar and process.
  3. Transfer crumbs to 10-inch-diameter springform pan with 3-inch-high sides. 
  4. Press crumb mixture firmly over bottom of pan.


For Ganache
  1. Bring whipping cream to simmer in large saucepan.Remove from heat.
  2. Add chocolate and coffee. 
  3. Whisk until chocolate is melted and ganache is smooth.  
  4. Reserve ganache; cover and let stand at room temperature to use later for topping.


For Filling
  1. Position rack in middle of oven and preheat to 350°F. 
  2. Using electric mixer, beat cream cheese and sugar in large bowl until blended.
  3. Beat in flour.
  4. Stir in brewed coffee, ground coffee, and vanilla into cream cheese mixture. 
  5. Beat in eggs 1 at a time, occasionally scraping down sides of bowl.
    Pour filling over crust. 
  6. Place cheesecake on rimmed baking sheet. 
  7. Bake until top is brown, puffed and cracked at edges, and center 2 inches moves only slightly when pan is gently shaken, about 1 hour 5 minutes. 
  8. Transfer cheesecake to rack.
  9. Cool cheesecake on the rack until room temp.  
  10. Pour enough ganache over the top of the cheesecake to make a top layer and refrigerate for about 10 minutes
  11. Sprinkle crushed Oreo cookies and coffee beans over the top as a light crumb topping.
  12. Refrigerate overnight.
To Serve
  1. Run small sharp knife between crust and pan sides to loosen cake; release pan sides.
  2. Transfer cheesecake to a serving  platter. 
  3. Can be made 4 days ahead. Wrap loosely in foil; keep chilled.
Printer Friendly Version