December 06, 2010

Coffees of Hawaii Coffee Cheesecake

It is no secret to those who know me well that I am a big fan of the coffee produced by Coffees of Hawaii.  I first learned of this coffee when they became a sponsor of the triathlon/cycling team that my husband belongs to, Pacific Velo.  We ordered some of their coffee to try and we have never looked back.  It is definitely my preferred coffee and the one that we brew morning, noon, and night.  It was a little bit of a shock to look back and see how much we had ordered (and consumed) in one year.  However, it was worth every penny for this liquid gold.


Not only do I love their coffee, but the company's philosophy is admirable too.  They are committed not only to offering the finest coffee, but they donate 1% of their revenues to support both culture and ecology in the Hawaiian islands.  "Malama Hawaii. There is nothing like it anywhere else on planet Earth".  Their website also offers a history of coffee in Hawaii and some wonderful Hawaiian proverbs.


We had some of the team members over for burgers this weekend and I thought it would be fun to make desserts that featured Coffees of Hawaii coffee in them.  My absolute favorite is the Ka'u coffee. We brewed up some extra strong coffee and finely ground some beans so that we could make sure they flavor shone through in the desserts.


I knew exactly which dessert I wanted to make first.  Recently the blog Liv Life featured a Cappuccino Fudge Cheesecake that I thought would be perfect to try.  I made a few adjustments to the recipe and the Coffees of Hawaii Coffee Cheesecake was born.  The main changes I made were to feature the coffee flavor a little more, and to re-arrange the layers.  I added ground Ka'u coffee to the base and topping, and added brewed Ka'u coffee to the filling and ganache - I wasn't joking when I said I wanted the coffee flavor to shine through.  Although there are a few steps to putting this cheesecake together, they are very easy steps, and it is well worth the effort.  Contrary to popular belief, cheesecakes are not hard to make.


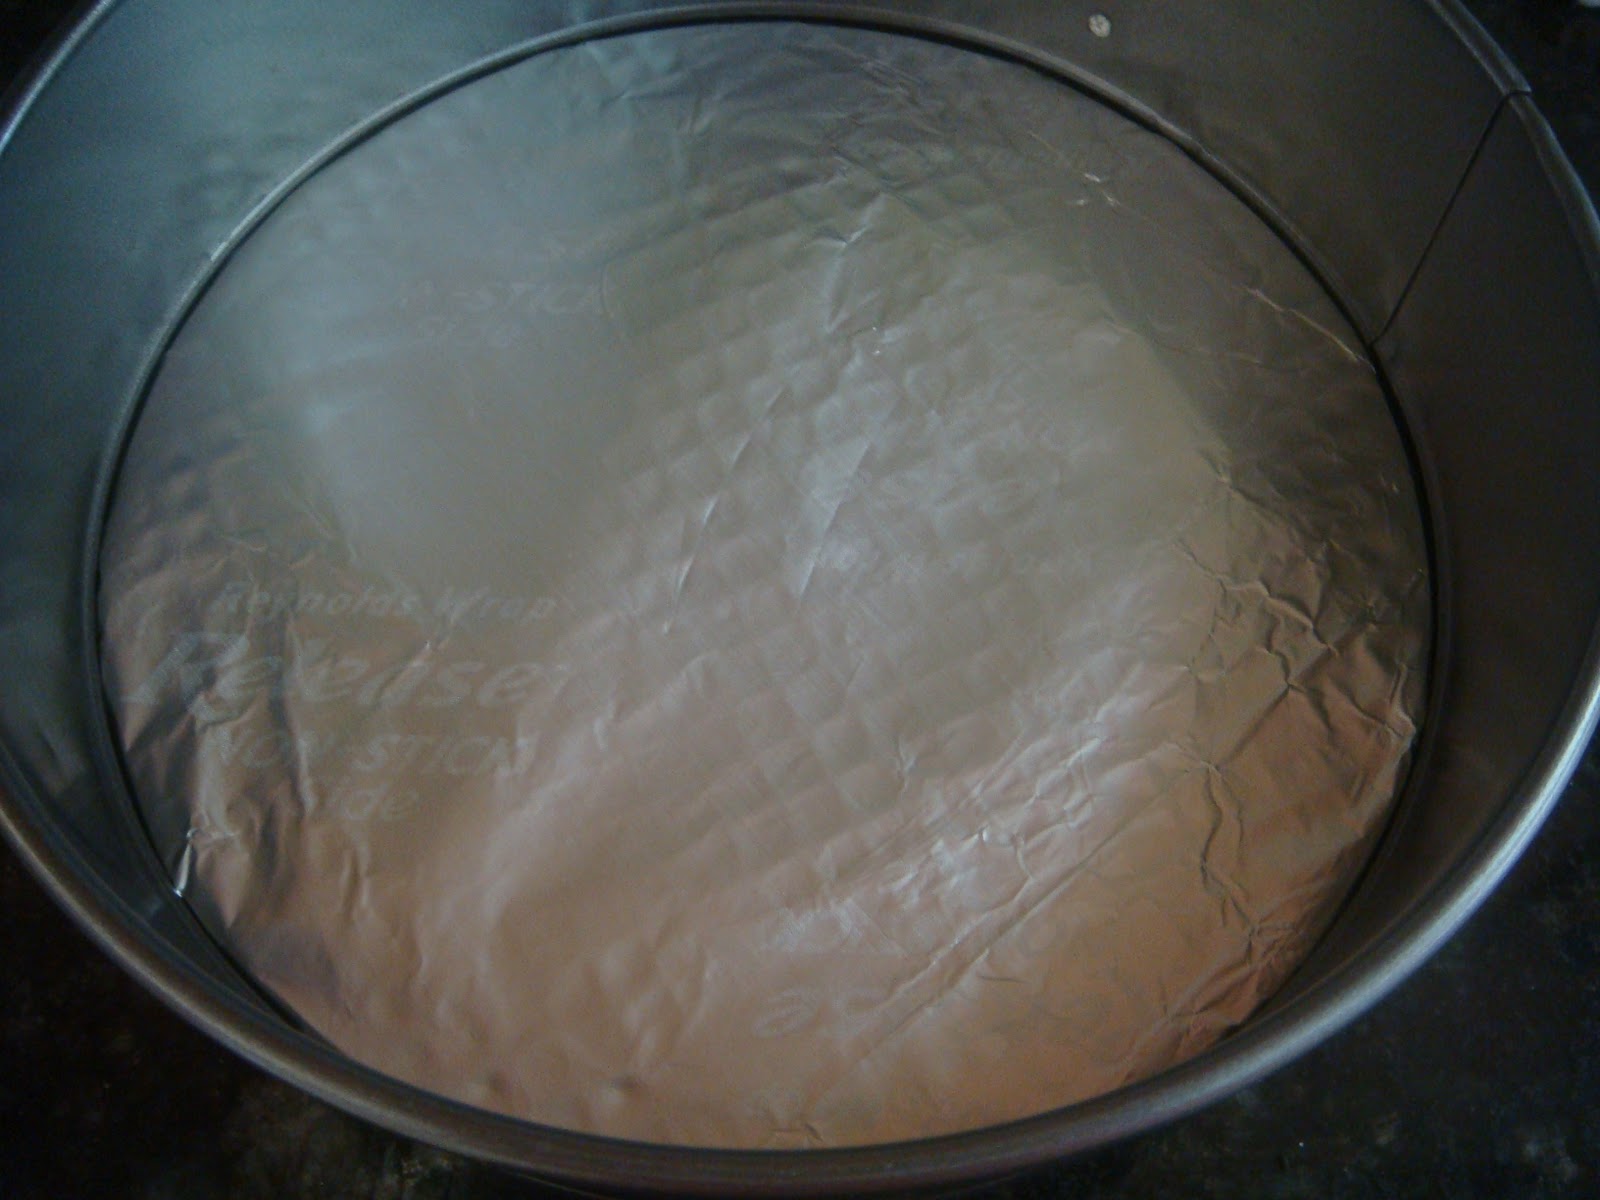
One of the tricks I use when making a cheesecake is to line the removable base of my pan with non-stick aluminum foil.  This makes life so much easier when it comes to moving the cheesecake on to a serving platter.  Of course you could also use a springform pan with a glass bottom that also acts a a serving dish but where is the excitement in that?  Just kidding, they are a godsend sometimes, but I don't have one so I have to work with what I've got.  Another is not to over-mix the cheesecake filling as you do not want bubbles in your cheesecake - remember, bubbles in champagne = good, bubbles in cheesecake = not so good. 


Lastly do not make the mistake of waiting until the filling is set when baking the cheesecake.  It should still be a little "jiggly" in the middle when you remove it from the oven as it will continue to cook more as it gradually cools.  I'll show you an example below of what happens when you leave it in too long.  I'll also show you that this can easily be fixed, so don't worry if you too end up with a crack in your cheesecake the size of the Grand Canyon.


Just think of the cracks as flavor opportunities.  There are many ways to cover this up such as a sour cream or whipped cream topping, fresh fruit, or do a I did and fill it with chocolate ganache. Chocolate makes everything better.  I filled the cracks first and then poured a topping of ganache over the whole cheesecake.  I let it firm up a bit and then pressed ground Oreos and coffee on top.  Problem solved.


Coffees of Hawaii Coffee Cheesecake

Ingredients
Crust 
  • 20 Oreo cookies 
  • 1/4 cup (packed) dark brown sugar 
  • 1/4 cup finely ground Coffees of Hawaii Ka'u coffee beans 
  • 5 Tbs melted unsalted butter
Ganache 
  • 1 1/4 cups whipping cream
  • 16 ounces bittersweet (not unsweetened) or semisweet chocolate, chopped
  • 1/4 cup strongly-brewed Coffees of Hawaii Ka'u coffee
Filling 
  • 4 8-ounce packages cream cheese, room temperature
  • 1 cup sugar
  • 2 Tbs all purpose flour
  • 1 shot of strongly-brewed Coffees of Hawaii Ka'u coffee
  • 2 tablespoons ground whole Coffees of Hawaii Ka'u coffee beans (medium grind)
  • 1 tablespoon vanilla extract
  • 3 large eggs 
Crumb Topping
  • 5 Oreo cookies
  • 1/4 cup finely ground Coffees of Hawaii Ka'u coffee

Preparation
For Crust

  1. Finely chop cookies in a food processor.
  2. Add butter and brown sugar and process.
  3. Transfer crumbs to 10-inch-diameter springform pan with 3-inch-high sides. 
  4. Press crumb mixture firmly over bottom of pan.


For Ganache
  1. Bring whipping cream to simmer in large saucepan.Remove from heat.
  2. Add chocolate and coffee. 
  3. Whisk until chocolate is melted and ganache is smooth.  
  4. Reserve ganache; cover and let stand at room temperature to use later for topping.


For Filling
  1. Position rack in middle of oven and preheat to 350°F. 
  2. Using electric mixer, beat cream cheese and sugar in large bowl until blended.
  3. Beat in flour.
  4. Stir in brewed coffee, ground coffee, and vanilla into cream cheese mixture. 
  5. Beat in eggs 1 at a time, occasionally scraping down sides of bowl.
    Pour filling over crust. 
  6. Place cheesecake on rimmed baking sheet. 
  7. Bake until top is brown, puffed and cracked at edges, and center 2 inches moves only slightly when pan is gently shaken, about 1 hour 5 minutes. 
  8. Transfer cheesecake to rack.
  9. Cool cheesecake on the rack until room temp.  
  10. Pour enough ganache over the top of the cheesecake to make a top layer and refrigerate for about 10 minutes
  11. Sprinkle crushed Oreo cookies and coffee beans over the top as a light crumb topping.
  12. Refrigerate overnight.
To Serve
  1. Run small sharp knife between crust and pan sides to loosen cake; release pan sides.
  2. Transfer cheesecake to a serving  platter. 
  3. Can be made 4 days ahead. Wrap loosely in foil; keep chilled.
Printer Friendly Version


November 30, 2010

To Try Tuesday - Chai Snickerdoodles

I am a big fan of Chai.  There is just something about the Chai spice mixture - cardamom, cinnamon, ginger, peppercorn, and cloves - that tingles on your tongue. As it has gained in popularity here you are seeing it as a flavoring component to more and more desserts such as Chai Creme Brulee, Chai Cheesecake, or even Chai Pancakes.


When I saw this recipe for Chai Snickerdoodles on Sophia's Sweets I knew I just had to try it.  They have been sitting in my To-Try since March of this year and I am very glad that I finally got around to making them.


I have to admit that a lot of them time I am not very good about mise en place.  I tend to grab things as I need them which can sometimes lead to my downfall.  This time I decided that I would get everything measured and ready to go before I started making the cookies.  Turns out that this is a really good idea and one that I will really have to embrace in the future as it really does make life easier.


I think that I may have let my butter get a little too soft (or possibly the sticks were a little bigger than usual) and it didn't cream as well as it should have with the sugar mixture.  After adding all of the ingredients I felt that the dough was a little soft so I added some extra flour.  This seemed to fix the problem.


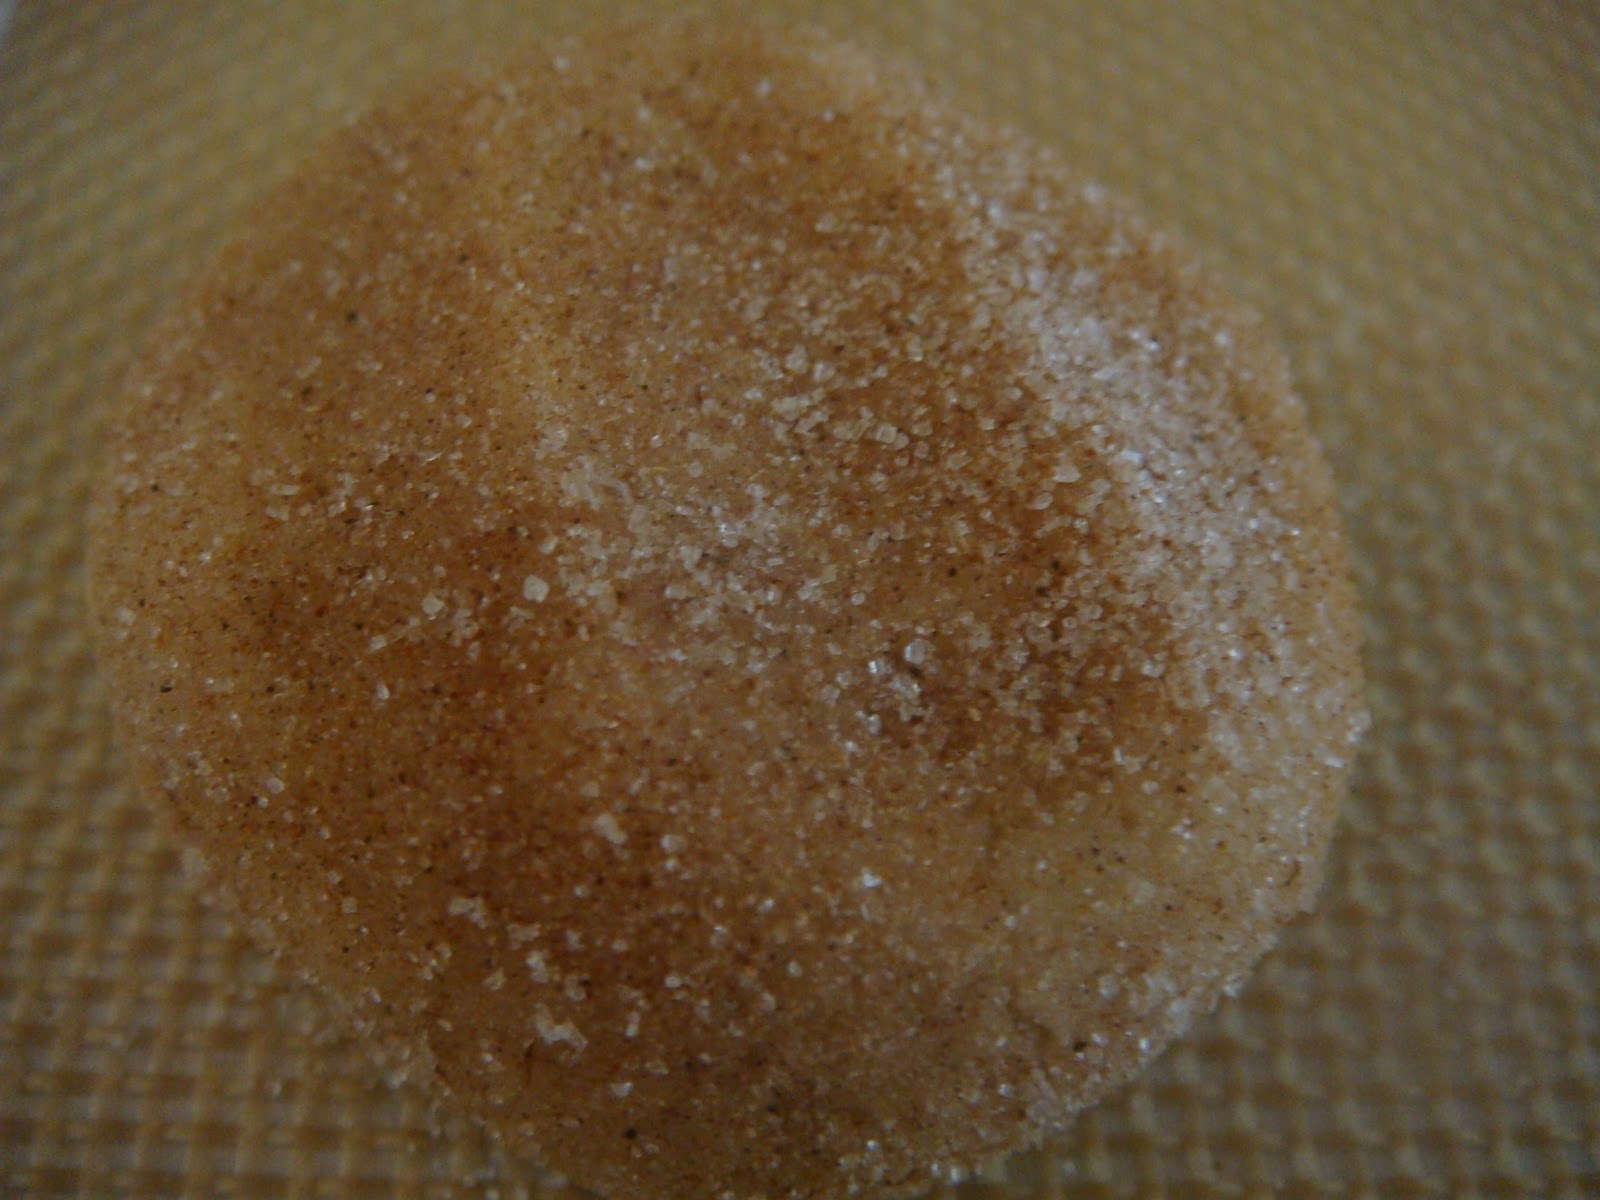
The original recipe calls for baking the cookies in little balls, leaving space for them to spread.  Mine pretty much stayed in the ball shape, and I am not sure if this was because I added extra flour or if this is just the shape of the cookies.  I baked one batch like this to see how they turned out.  For the next batches I rolled them in the sugar mixture, put them on the baking tray, and then gently used my fingers to press down and make a slighter flatter cookie.  I preferred them this way as it gave them a little extra crunch on the outside.  If you like a softer cookie then leave them in the ball shape.


The flavor of the cookies was great.  Just enough spice to keep you coming back for more and they were not overpowering at all.  I think that this would be a great dough to keep in your freezer for when the urge to bake hits you.


Chai Snickerdoodles
(recipe adapted from Sophia's Baking)

Ingredients
  • 2 cups sugar
  • 2 teaspoon ground cinnamon
  • 1 teaspoon ground ginger
  • 1 teaspoon ground cardamom
  • 1/2 teaspoon ground allspice
  • 1 cup butter, soft
  • 2 large eggs
  • 1 1/2 tsp vanilla extract
  • 3 cups all purpose flour
  • 1/4 tsp salt
  • 2 tsp cream of tartar
  • 1 tsp baking soda
Preparation
  1. Preheat the oven to 350F. Line a baking sheet with parchment paper or a Silpat.
  2. In a large bowl, combine sugar and spices; remove 1/2 cup of this mixture and place in a medium-sized, shallow dish or bowl (like a soup plate). Add butter to bowl and cream with sugar mixture until fluffy. Beat in eggs, one at a time, and vanilla extract.
  3. In a medium bowl, whisk together flour, salt, cream of tartar and baking soda. Add to sugar mixture and stir until fully incorporated.
  4. Shape dough into 1 inch balls and roll in reserved sugar-spice mixture. Place on baking sheet, leaving 2 inches between balls to allow for spreading.  Gently flatten with fingers.
  5. Bake for about 12-15 minutes, until edges are firm to the touch, but not quite browned. Cool for 3-5 minutes on the baking sheet, then transfer cookies to a wire rack to cool completely.

Makes about 4 dozen.
Printer Friendly Version


November 23, 2010

To Try Tuesday - Banana Cream Pie

Sorry, I missed the last two Tuesdays but I had a good excuse.  I was in Australia.  It was so nice to catch up with family and eat some good Aussie tucker.  Of course I get back home and two days later I am fighting a head cold.  Right before Thanksgiving.

I wanted to have more than one dessert for Thanksgiving and it is a given there there will be pumpkin pie.  I asked the family what their second choice is and they all chose banana cream pie.  You know, that oh so traditional dessert for Thanksgiving. Thanksgiving is all about family and being thankful for what you have, so if my family wants to be thankful for banana cream pie, then I am happy to make it our tradition.

I couldn't find my usual recipe so I went with this one that I found in my binder.  Since I am still fighting the above-mentioned cold, and given I am not a big fan of graham cracker crusts, I decided to go with a store-bought pie crust.

I found the custard to be way to sweet but when I got my girls to try a bit of it with some left over banana slices their eyes rolled in delight.  I aim to please.  Next time I would also make my own pie crust because I really think that this needs a nice deep crust so that you can layer lots of bananas and custard.  Of course the whipped cream on top adds a little more sweetness.  You might as well go the whole hog by this stage.

Of course as I was typing up this post and looking for recipe on the internet I found my original recipe.  Here is a link to it.  Below is the recipe I sort of followed this time minus the cracker crumb crust and the coconut caramel sauce. I just baked the pre-made pie crust, cooled it for 10 minutes, then layered sliced bananas with the custard, and topped it with whipped cream and sliced bananas.


Banana Cream Pie with Coconut Caramel Sauce

Original recipe found here

Ingredients: Crust 
  • 1 1/2 cups graham cracker crumbs
  • 1/2 cup finely ground macadamia nuts
  • 1/2 cup unsalted butter, melted and cooled
  • 1 tablespoon sugar 
Ingredients: Sauce  
  • 2 cups sugar
  • 1 1/4 cups canned unsweetened coconut milk 
 Ingredients: Custard   
  • 1 1/2 cups sugar
  • 1/3 cup + 1 tablespoon cornstarch
  • 1/4 teaspoon salt
  • 3 cups cold whole milk
  • 2 egg yolks
  • 2 tablespoons unsalted butter
  • 2 teaspoons vanilla 
Ingredients: Topping 
  • 1 cup heavy cream
  • 1 teaspoon powdered sugar, sifted
  • 2 ripe but firm bananas, peeled and sliced

Preparation: To make the crust 
  1. Preheat the oven to 350 degrees. Oil a large baking sheet. Arrange eight 3-inch-diameter hinged ring molds on the baking sheet.
  2. Combine the graham cracker crumbs, nuts, melted butter and sugar in a bowl; mix until well blended. Pat the crumb mixture into the ring molds. Bake for 8 to 10 minutes, until lightly browned. Let cool, leaving the ring molds in place.
Preparation: To make the sauce
  1. Place the sugar in a small heavy-bottom saucepan over medium-high heat and stir constantly until it melts and turns golden brown. Do not let the sugar burn.
  2. Carefully add the coconut milk, stirring vigorously. Cook over medium heat for 3 to 5 minutes, until the sauce thickens slightly. Set aside.
Preparation: To make the custard
  1. Combine the sugar, cornstarch and salt in a large saucepan. Whisk in the milk until the mixture is completely smooth. Place the saucepan over medium-low heat and stir until the mixture is warm.
  2. Whisk the egg yolks in a small bowl until blended. Stir a small amount of the hot milk mixture into the egg yolks. Then pour the egg mixture back into the milk mixture. Cook for about 10 minutes, whisking vigorously, until the custard is quite thick. Remove from the heat and stir in the butter and vanilla.
  3. Pour the custard into a bowl and press plastic wrap directly onto the surface. Let cool completely.
Preparation: To make the topping
  1. Beat the cream in a large bowl until soft peaks form. Fold 1/3 cup of the whipped cream into the cooled custard. 
  2. Beat the powdered sugar into the remaining whipped cream. 
To Serve:
  1. Slide a spatula under each ring mold and move each to a serving plate.  Inside the rings, alternate layers of banana and custard, finishing with custard on the top.
  2. Carefully unhinge and remove the rings.  Spoon the coconut caramel sauce around and over each custard.
  3. Garnish with the sweetened whipped cream.

November 20, 2010

The Cake Slice November 2010 - Cinnamon Pudding Cake

This months cake from the Cake Slice Bakers was a Cinnamon Pudding cake from Cake Keeper Cakes by Lauren Chattman.

I was excited to try this recipe as I had made other pudding cakes before (although in Australia we call them self-saucing puddings), but not one with cinnamon. I did notice that this recipe seemed a little different to other recipes I had tried - there was less water,  less butter, and no eggs.

As I was creaming the butter and sugar I felt that there should have been more butter, so I added an extra tablespoon.  This was the only change I made to the recipe.


 The cake looked and smelled wonderful once it came out of the oven.  After waiting the 15 minutes I attempted to invert it onto a serving platter and only some of the cake came out.  There was also very little sauce.  The cake was also a bit dry but the flavor was good.

I decided to try and contact Lauren Chattman to find out if there had been a typographical error in the cookbook.  She very graciously answered by email and advised that this recipe was given to her by her editor's mother and there were no errors in the book as her recipe did not contain eggs.  She also had the following suggestions:
  • If you prefer more caramel increase the toppings by 50%
  • If you would like a richer cake you can add a whole egg or two eggs yolks, and use 1/4 cup less milk.
I am definitely going to try this recipe again with the suggestions made by Ms. Chattman.  I think that next time I will serve it with a little homemade custard.


Click here to see to check out all of the other Cake Slice Bakers blogs and see their version of this cake.

Cinnamon Pudding Cake
(recipe from Cake Keeper Cakes)

For the Caramel Topping
  • 1 cup plus 2 tbsp packed light brown sugar
  • ¾ cup water
  • 1 tbsp unsalted butter
  • ½ tsp salt
For the Cake
  • 2 cups all-purpose flour
  • 2 tsp baking powder
  • 2½ tsp cinnamon
  • ½ tsp salt
  • 2 tbsp unsalted butter, softened
  • 1 cup granulated sugar
  • 1 cup whole milk
  • 1 tsp vanilla extract

Preparation – Topping 
  • Heat the oven to 350F.  Spray the bottom and sides of an 8 inch square baking pan with nonstick cooking spray.
  • Combine the brown sugar, water, butter and salt in a small saucepan and bring to a boil, whisking occasionally, then set aside to cool.
Preparation – Cake 
  • Combine the flour, baking powder, cinnamon and salt in a medium mixing bowl.
  • Combine the butter and granulated sugar in a large mixing bowl and cream with an electric mixer on medium-high speed until fluffy, about 2 minutes.
  • With the mixer on medium-low speed, add a third of the flour mixture to the bowl. Add half of the milk and the vanilla. Add another third of the flour, followed by the remaining milk and the rest of the flour. Scrape down the sides of the bowl and beat on medium speed for 30 seconds.
  • Scrape the batter onto the prepared pan and smooth the top with a rubber spatula. Pour the topping over the batter (the pan will be very full). Carefully transfer the pan to the oven and bake until set, 45 to 50 minutes.
  • Let the cake cool in the pan for 15 minutes, invert it onto a large rimmed serving platter and serve warm.
Let any leftover cake cool completely before storing in an airtight container at room temperature for 1 day or in the fridge for up to 3 days.  Makes one 8 inch square pudding cake.

Printer Friendly Version 


November 02, 2010

To Try Tuesday - Pumpkin Spice Wedding Cakes

I love Mexican Wedding Cakes.  They have such a wonderful crumbly texture and are just the right size to pop in your mouth.  Of course I have made them many times before so, technically, they did not qualify for To Try Tuesday.  However, they were calling my name so I had to come up with something different for them.  I decided I wanted to make them somewhat seasonal so I had an idea - what if I added pumpkin pie spice to the dough and to the powdered sugar exterior?  Pumpkin Spice Wedding Cakes were born.


Of course they really aren't cakes at all, they are cookies.  These cookies are also known as Russian Tea Cakes, Butterballs, Swedish Tea Cakes, Polvornes,  and even Moldy Mice.  "According to several food history sources and cookbooks they are a universal holiday cookie-type treat.  This means this recipe is not necessarily connected to any one specific country. It is connected with the tradition of saving rich and expensive food (the richest butter, finest sugar, choicest nuts) for special occasions. Food historians trace the history of these cookies and cakes to Medieval Arab cuisine, which was rich in sugar. Small sugar cakes with nuts (most often almonds) and spices were known to these cooks and quickly adopted by the Europeans. This sweet culinary tradition was imported by the Moors to Spain, diffused and assimilated throughout Europe, then introduced to the New World by 16th century explorers. Sugar cookies, as we know them today, made their appearance in the 17th century. Recipes called Mexican wedding cakes descend from this tradition. They first appear in American cookbooks in the 1950s".


Although the original recipe from Epicurious states that it makes 4 dozen cookies I only got 2 dozen.  I guess mine were a bit more of a mouthful.  Either way they did not last long.


Pumpkin Spice Wedding Cakes
(adapted from a recipe on Epicurious)

Ingredients
  • 1 cup (2 sticks) butter, room temperature
  • 2 cups powdered sugar
  • 2 teaspoons vanilla extract
  • 2 cups all purpose flour
  • 4 teaspoons pumpkin pie spice, separated
  • 1 cup pecans, toasted, coarsely ground
Preparation
  1. Preheat oven to 350°F.
  2. Using electric mixer, beat butter in large bowl until light and fluffy. 
  3. Add 1/2 cup powdered sugar and vanilla; beat until well blended. 
  4. Beat in flour and pumpkin pie spice, then pecans. 
  5. Divide dough in half; form each half into ball. Wrap separately in plastic; chill until cold, about 30 minutes.
  6. Whisk remaining 1 1/2 cups powdered sugar and 2 teaspoons pumpkin pie spice in a bowl to blend. Set sugar aside.
  7. Working with half of chilled dough, roll dough by 2 teaspoonfuls between palms into balls. Arrange balls on heavy large baking sheet, spacing 1/2 inch apart. 
  8. Bake cookies until golden brown on bottom and just pale golden on top, about 18 minutes. Cool cookies 5 minutes on baking sheet. 
  9. Gently toss warm cookies in sugar to coat completely. Transfer coated cookies to rack and cool completely. 
  10. Repeat procedure with remaining half of dough. 
  11. Toss cookies in powered sugar again and serve (or place in an airtight container).
Yield: Makes about 2 dozen

Printer Friendly Recipe